Plan my home

How smart home automation works: our 9-step installation process

Designing and building a luxury smart home requires meticulous planning, precision engineering, and rigorous testing before any code is written. Our 9-step process ensures every lighting circuit, keypad, shade, and audio zone operates seamlessly from day one. Below is the step-by-step roadmap for a typical project.

  1. Step 01

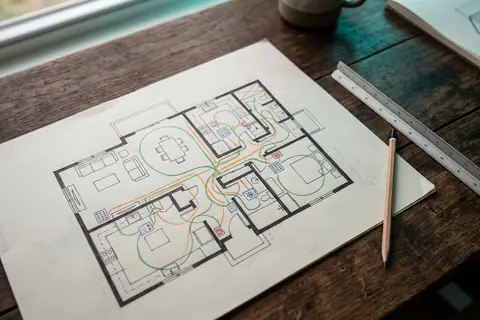
    Smart home wiring plan and keypad placement

    Every circuit, sensor loop, and keypad position is mapped onto detailed architectural drawings before any work begins. We coordinate directly with your architect and electrical contractor to ensure cable routes and mounting depths are agreed upon early. This eliminates guesswork and avoids costly site rework during construction.

    • Complete lighting circuit schematics
    • Keypad and sensor positioning layout
    • Electrical contractor cable schedule
    Architectural floor plan with circuit loop sketches and ruler
  2. Step 02

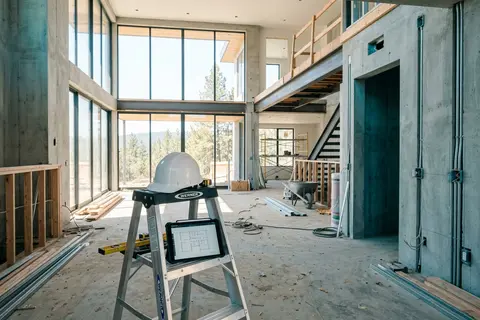
    Pre-wiring and post-wiring site inspection

    Our engineers perform two mandatory site checkpoints: first before cabling begins to inspect conduit paths, and second after cabling is completed. We verify cable integrity, wire insulation, and mounting depths before walls are sealed. This guarantees that physical infrastructure matches the engineering schematics.

    • Pre-conduit route verification
    • Post-wiring cable integrity report
    • Wall depth & backbox sign-off
    Interior home under construction with conduits and hard hat on ladder
  3. Step 03

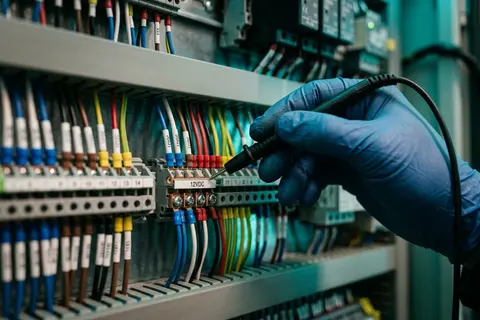
    Lighting circuit and automation wiring test

    Every individual lighting circuit, load loop, and sensor line is physically tested and verified before any automation hardware is programmed. We energize each circuit to confirm correct voltage, phase balance, and load types. Testing hardware upfront ensures zero electrical faults reach your automation modules.

    • Load & phase balance verification
    • Voltage & insulation resistance test
    • Pre-programming circuit sign-off
    Engineer hand holding digital multimeter probe at low voltage terminal block
  4. Step 04

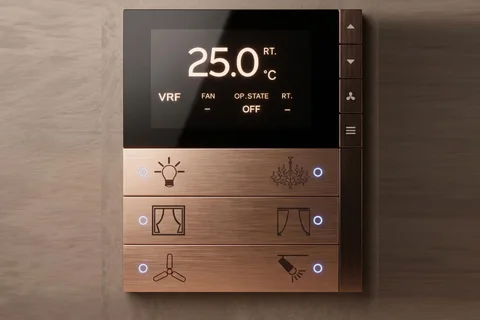
    Smart keypad design and custom Signature Scenes

    Keypad faceplates are custom-selected in finishes matching your interior architecture, from brushed brass to matte anodized aluminum. We design Cleub's Signature Scenes—intelligently pre-configured lighting, curtain, and climate settings crafted for morning routines, dining, entertainment, and night modes.

    • Custom keypad finish & button engraving selection
    • Tailored Signature Scene mapping
    • Multi-room climate & curtain preset design
    Architectural KNX thermostat keypad in brushed bronze with climate OLED display and scene switches
  5. Step 05

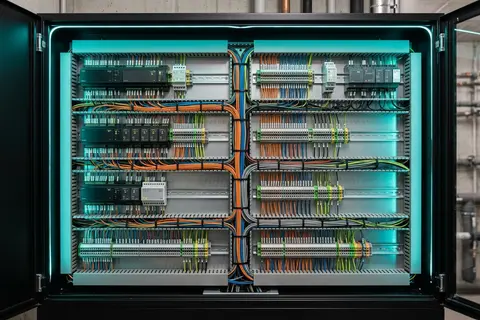
    Automation distribution board and keypad installation

    The central automation distribution cabinet is mounted, neatly wired, and clearly labeled with industrial DIN-rail modules. Wall keypads and ambient sensors are installed into their prepared backboxes with flush precision. Every module connection is documented in final schematics.

    • Neatly dressed DIN-rail distribution cabinet
    • Flush-mounted wall keypads and sensors
    • Clear physical circuit labeling
    Cleanly wired home automation distribution board with DIN-rail modules
  6. Step 06

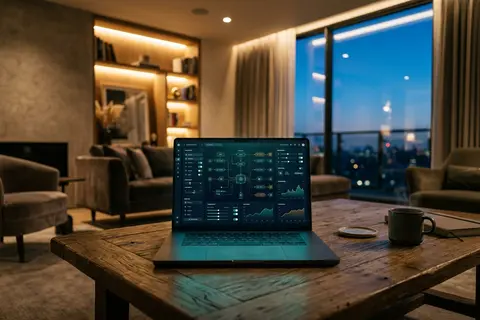
    Home automation programming and logic setup

    Our certified software engineers program system logic, dimming curves, motor timings, and multi-room automation rules. Lighting scenes, climate schedules, and occupancy logic are tuned and tested across every room. All programming is structured for rapid response times and smooth scene transitions.

    • Customized lighting & climate logic programming
    • Smooth dimming curve & shade timing calibration
    • Multi-room scene synchronization
    Laptop on coffee table displaying generic software interface inside living room
  7. Step 07

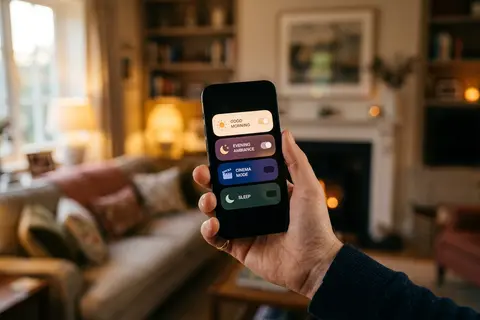
    Smart home app setup and voice control

    We configure intuitive smartphone and tablet interfaces for you and your family members, organized by room and activity. Voice control integrations and automated notifications are activated with secure user access permissions. Every family member gets personalized access tailored to their preferences.

    • Customized mobile & tablet control interfaces
    • Secure family multi-device setup
    • Hands-free voice assistant integration
    Hand holding phone displaying generic smart home app interface
  8. Step 08

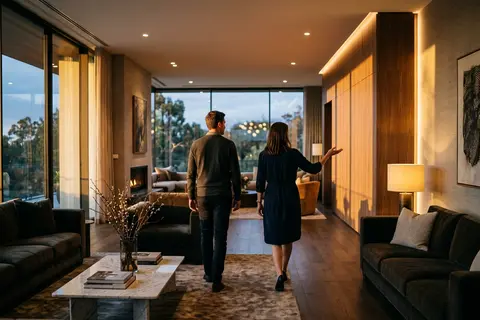
    Smart home handover and final commissioning

    We conduct a comprehensive room-by-room walkthrough with you to test every keypad button, scene transition, app control, and audio zone. We demonstrate how to adjust preferences and hand over your complete as-built documentation package.

    • Comprehensive room-by-room walkthrough
    • Full as-built engineering schematics package
    • Personalized system demonstration
    Two people walking through a luxury living room during room walkthrough
  9. Step 09

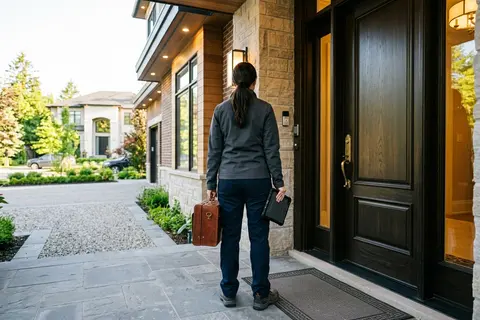
    Smart home support and after-installation service

    Your installation is backed by one full year of on-site support. If any scene needs tuning or hardware requires attention during your first year, our engineering team comes directly to your residence to assist.

    • 12 months of direct on-site technical visits
    • Fine-tuning of scenes & schedules
    • Priority engineering support
    Smart home technician carrying tool case standing at luxury home entrance
FLEXIBLE ARCHITECTURE

Wired or wireless projects

The steps above describe a wired installation. Wireless and retrofit projects follow the same phases: plan, check, design, build, hand over, adapted to devices, hub and network instead of wiring loops and distribution boards.

Supported Ecosystems & Protocols
KNX-Certified Zigbee 3.0 Matter Apple HomeKit Z-Wave
QUALITY GUARANTEE

Two site checkpoints

We perform two mandatory on-site inspections—first before wiring begins to review conduit routes, and second after cabling is completed. Additionally, every lighting circuit and load loop is physically energized and tested before programming hardware is connected.

AFTER-CARE

One year on-site support

Your home automation system includes 12 months of direct on-site engineering support. Whether you need lighting scene fine-tuning, schedule adjustments, or technical assistance, our engineers visit your home directly.

Everything you need to know about our installation process

The timeline depends on project scope and construction schedules. Planning and engineering drawings typically take 1 to 2 weeks, while installation aligns with your builder fit-out schedule. Final commissioning occurs right before move-in.

No. You only need to be present for key milestone decisions: initial layout review, keypad finish selection, and final walkthrough. Our team handles all site inspections, testing, and programming independently.

Yes. All lighting scenes, schedules, and button mappings can be adjusted anytime. During your first year of on-site support, our team handles any scene or logic fine-tuning free of charge.

Wireless and retrofit projects follow the exact same 5 core phases: plan, check, design, build, and hand over. Instead of physical distribution boards and wiring loops, we focus on wireless mesh placement, smart hubs, and secure network infrastructure.

Every project includes one full year of on-site customer support. If hardware requires attention or you wish to adjust scene settings, our certified engineers visit your residence directly.

Ready to plan your smart home?

Connect with our certified automation engineers to review your architectural plans and design your custom system.

Plan my home WhatsApp